
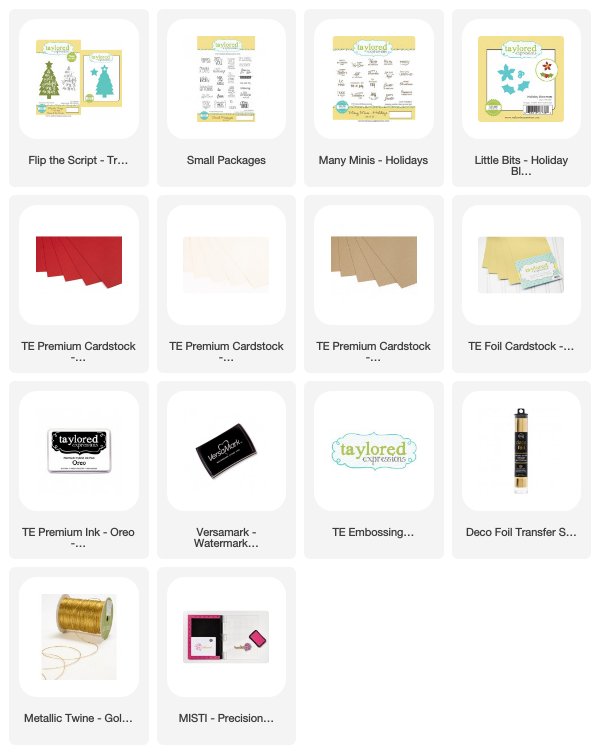
My projects today feature Flip the Script - Trees and Pine Bough Background stamp plus Pine Bough Background Edger die.
I made a set of four tags with Flip the Script - Trees, which is a petite stamp & die combo. The tags have 3 layers joined by either hemp cord or gold twine. The top layer is the stamped with the tree and the script sentiment. For the middle layer, I used alcohol inks plus gold foil on yupo paper to create my own alcohol ink background, then die cut with the included tree die. The final layer includes a tiny sentiment (from previously released Many Minis - Holidays and die cuts from the new Little Bits - Holiday Bloomers. Not pictured is the back of the final layer which is stamped To: From: from Small Packages.

The two tags below were created with Sugar Cube cardstock. When you stamp the tree, the sentiment is white and can be left alone or you can stamp over it with the included script stamp. I used my Misti stamping tool to line up the sentiment, stamped using Versafine Clair Nocturne ink, then sprinkled on Diamond embossing powder and heat set. I used the coordinating die to die cut the tree. Also included is a star die, which I die cut using gold foil cardstock and adding to the top of my tree. The tag layers were tied together with gold metallic twine.

The final two tags were created out of Toffee cardstock. Once again, I stamped the sentiment over the tree, but I did not emboss it, keeping these a little more rustic looking. These layers were tied together with hemp cord.

Flip the Script - Tags Supplies:
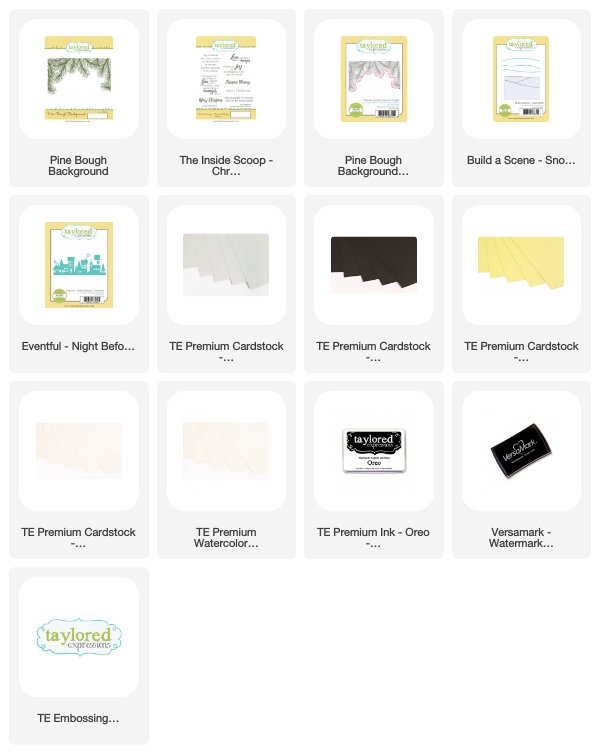
My next two cards were created with the Pine Bough Background stamp and Pine Bough Background Edger die. The stamp creates a beautiful pine bough background to frame any type of scene (not just Christmas!). For my first card, I stamped the background stamp onto Sugar Cube cardstock with Cilantro ink. I then used the edger to die cut the boughs.
Before adding the pine boughs to my card, I created my background scene. I added a sky with Stormy Sky Distress Oxide. Snowy hills were added with the new Build a Scene - Snow Drifts. The silhouette scene was created from the previously released Eventful - Night Before Christmas, which was die cut out of Oreo cardstock. The windows were backed with Potato Chip cardstock to create a soft glow from the lights inside. Finally, I added the Pine Bough Background to complete my scene looking into the city from a forest of trees.

I added a sentiment from The Inside Scoop - Christmas Blessings by stamping with Versafine Clair Nocturne ink and heat embossing with Diamond embossing powder.

Merry Christmas Script Supplies:
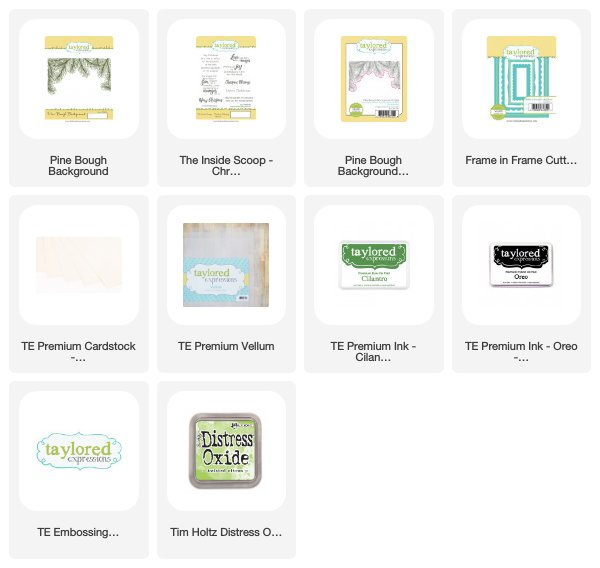
My next card came about after many trials as I really wanted to stamp the Pine Bough Background on vellum cardstock. I started by stamping with Cilantro ink. Even though it is a dye based ink, vellum is a slicker surface than regular cardstock, so the ink remained wet for awhile. My first few tries resulted in smudgy pine boughs, so I had to be very careful to press down once with the stamp and not move the block around. When I discovered that the ink was wet, I decided to sprinkle some Diamond embossing powder on top and heat set it. You can see the embossing detail on the vellum below.
Before adding the pine boughs, I created another background scene. Instead of a snowy scene, I started by using Distress Oxide inks to create a sky (Tumbled Glass and Stormy Sky), then grass (with Twisted Citron). I splattered some water on top and dabbed with at paper towel to create some interest in the background. Once again, I used Eventful - Night Before Christmas to create a white silhouette of the city scene, but this time I trimmed it. Once I added the vellum over the scene, it still didn't look quite right to me, so I added a frame using the largest frame from the Frame in Frame Cutting Plate.
I was able to stamp my sentiment (from The Inside Scoop - Christmas Blessings) directly onto the frame.

Merry Christmas Supplies:
I hope you will visit the TE blog for inspiration and links to designers participating in today's sneak peeks. You'll also want to to answer Taylor's Question of the Day for a chance to win new product from the release BEFORE you can buy it!

Thanks so much for stopping by! Tomorrow is release day, and I will be back with more projects using new product!