Friday, January 18, 2019

All My Love and More...

Hello! Today is a snow day for us, which is a bonus since it is on a Friday before a 3-day weekend! I'm back again... this time with a trio of cards made with the Concord and 9th Everyday Bouquet Turnabout Toolkit.

I probably sound like a broken record, but I really love the versatility of this toolkit. Yesterday I made a welcome baby card with it. I love floral bouquets and how you can change up the colors to create different looks with this.

My first card today is for a dear friend who recently lost her dad. I chose to make a non-traditional sympathy card and instead I'm calling it a "celebration of life" card. I used the turnabout stamp 4-times, using 3 colors of inks, then heat embossing the final turn with rose gold embossing powder. I used the label die included in the kit to die cut a portion of the bouquet out, then I stamped the sentiment over the bouquet. I added a foam layer to pop it back over the bouquet.


Once again, I added some stitching to my layers and a few rose gold metallic gems around the sentiment.


The next 2 cards are super simple. I used the scored, standard sized cards that were included with the kit to make one layer cards. These are both mail-friendly as they are one layer (with the exception of the sentiments which are popped up in the center of the bouquet with foam tape).

The first one will be my dad's birthday card (his birthday is at the end of the month). The sentiment is from the Hello Sunshine Turnabout and the circle is from the Hello Sunshine Turnabout Dies. I will be playing with these sets more (hopefully soon!).


The final card is a thank you card, which I'm always in need of! The sentiment is included in the kit as is the square die cut.


Thanks so much for stopping by!

Thursday, January 17, 2019

Welcoming a New Baby to the Family!

Hello! Happy 2019 (yes, I know we're 17 days in, however this is my first post of the year)! Today I'm popping in to share the first card that I've made this year. I took a break from crafting during the holidays, and I haven't been feeling super crafty. I have already managed to read 6 books this year, so that pretty much sums up the first couple of weeks. I finally decided that it's time to get in my craft room, clean off my desk and create!

At the beginning of the year, our niece had her first baby, a girl who she named Emi Marie. We are absolutely thrilled for her and her hubby. Though we have yet to meet her, we are hoping to soon! The occasion definitely warranted a new handmade card.


This isn't a typical baby card, but I'm OK with that. I used the new Concord & 9th Everyday Bouquet Turnabout Toolkit. It was my first time using one of their turnabout stamps, and I absolutely loved using it. I started by stamping with 4 different ink colors to create the floral leaf pattern (in the circle) on a piece of white cardstock. I was having a tough time figuring out my card design, had die cutting issues and a sewing maching mishap. Instead of ditching my project and starting over, I die cut the patterned stamping with a circle die and built the rest of my card around it.

I also wanted to use the accompanying dies in the toolkit, but when I positioned my flowers on the circle, the card seemed too busy, so I die cut a second circle out of vellum and put it over the stamped circle to give it a more muted look. The "congrats" sentiment was included with the turnabout stamp and was heat embossed in white. I also dusted off my sewing machine and once I got it working properly, I added some stitching onto the card.

Pretty Pink Posh pearl white jewels finish off the centers of the flowers.


I have another card to make on my to-do list, and I'm planning on using the kit again, so I'll be back (hopefully soon) with another take on the toolkit.

Thanks so much for stopping by!

Tuesday, November 13, 2018

Christmas Wishes

Hello and Happy Tuesday! I spent some time coloring for The Daily Marker 30 Day Challenge and wanted to create a set of Christmas cards for my stash. The Merriest Snowflake stamp from WPlus9 was just begging to be colored.

To make these cards, I used my MISTI stamping tool to place the stamp the snowflake with Versafine Onyx Black ink. Next, I colored the snowflake image with polychromos pencils. Since the ink dulls after coloring with the pencils, I put my image back into the Misti and stamped over it. While the ink was still wet, I sprinkled on some diamond embossing powder and embossed the image. I also embossed the sentiments. "From our home to yours" and "wishes" is also a part of the Merriest Snowflake stamp. The smaller "Christmas" is from Hand Lettered Holiday (also from WPlus9).

I still have my stamps in my MISTI and may make more!


Here's the set of four. I tried to show the sparkle from the embossing powder and ended up with some glare when I took this photo. At least you can see how much it sparkles!


Thanks so much for stopping by! Have a wonderful day!

Monday, November 5, 2018

Peace on Earth

Hello! Happy Monday! I thought I'd pop in with a quick card that I made to add to my Christmas stash. Christmas is rapidly approaching, so I decided that it's time to make some simple cards.

This one came together rather quickly since I had already made the top layer several weeks ago. I started with a piece of yupo paper and a handful of alcohol inks to create my background. Once it dried, I used the Nordic Snowflake Stencil (from the Taylored Expressions October release) and white pigment ink to stencil on the snowflakes. I set this aside to dry and forgot about it... literally, until now!


I wanted to keep this simple, so I stamped the sentiment from Handlettered Holiday onto a piece of Bristol cardstock with Versafine Clair Nocturne ink, sprinkled on some diamond embossing powder, then heat set it. I use Stormy Sky and Blueprint Sketch Distress Oxide inks around the sentiment, keeping some white in the center to highlight the sentiment. I created the window by die cutting the largest circle from Inside Scallop Circle Stacklets.

After adding my panel to an A2 card base, I finished my card of with some clear droplets from Pretty Pink Posh.


Thanks so much for stopping by! I hope you have a wonderful week!

Sunday, November 4, 2018

Mojo Prayers

Hello! A couple of weeks ago, Julee announced that she was starting Mojo Monday sketches again! Woohoo, I thought! I love a good sketch challenge and her sketches have always been favorites of mine. I was also in need of a sympathy card, so I set out to make one this weekend.

Not knowing exactly how I would lay out my flowers, I stamped out all of the images from the Wild Rose stamp set (from Pretty Pink Posh) onto watercolor cardstock with Versafine Clair Nocturne ink and heat set with clear embossing powder. The Daily Marker 30 Day coloring challenge started up on November 1, so this was a sign for me to do some coloring on a rainy Saturday morning. I used Zig Clean Color Brush markers and a water brush to color the roses and leaves.

Next, I used the Wild Rose dies to die cut all of the flowers and leaves. For the gray panel, I cut a piece of Neenah Solar White cardstock and blended some Hickory Smoke Distress Oxide Ink onto it. I also splattered some water onto it to add a water color look. I played with arranging the flowers and leaves for quite some time. Once I was reasonably happy with the arrangement, I adhered it all with foam tape. After the layers were assembled, I splattered some Black Soot Distress Oxide over everything.

My sentiment (from PPP Encouraging Greetings) was stamped onto black cardstock with Versamark Watermark ink and embossed with white embossing powder. Finally, I added some Pearl White Jewels.


Here's a look from above:


Though it is hard to see in the photograph, I went over the flowers with a clear Wink of Stella pen to add some shimmer.


Here's a look at the Mojo Monday sketch #501.


Thanks so much for stopping by!

Monday, October 15, 2018

Autumn Leaves Thanks

Hello friends! As I type this post, I keep reminding myself that it is October 15, which means that we are in the fall season, right?! I'm saying this now because yesterday, we got about 4 inches of very unexpected AND unwelcome snow. Never mind that it already has started to melt and the rest of this week is supposed to warm up. SNOW is just not welcome now!

I made this fall themed card a few weeks ago and thought I'd better get it photographed and posted before fall leaves us for good. I started by stamping the Taylored Expressions Autumn Leaves Background with Versamark and heat embossing my background onto a sheet of Bristol paper. Next, I randomly added drops of TE liquid watercolor onto a craft mat. I used the colors Lemon Meringue, Candy Corn, Guava and a tiny bit of Peapod. I then took my paper and did some smooshing over the embossed leaves. I also splattered some water and Perfect Pearls over my background.


I added Oreo cardstock as a mat for the leaves background and behind the sentiment. I used the Thanks Script die for my sentiment. The entire panel is popped up on a Buttercream cardstock with foam tape.


Thanks so much for stopping by!

Thursday, October 4, 2018

Taylored Expressions October 2018 Release

Hello Crafty Friends! Today is the BIG day... it is release day for the Taylored Expressions October release! Before you head over to the TE store to shop, I have a few more projects featuring some of the new products.

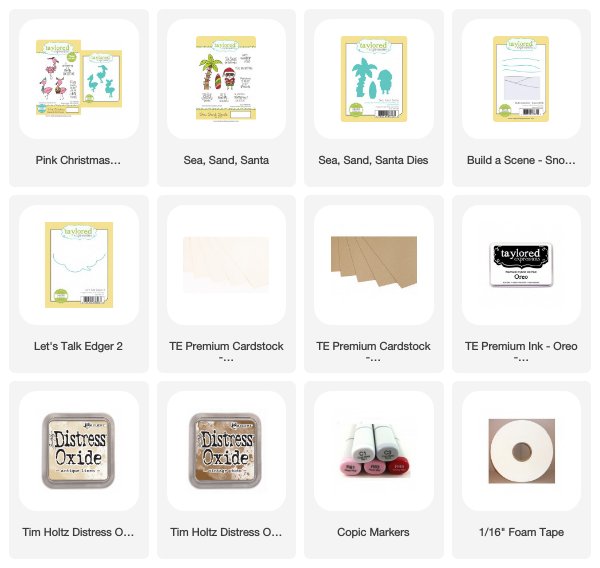
My first two cards feature Pink Christmas stamp & die combo as well as an image (palm tree) from Sea, Sand, Santa. I've also used the Build a Scene - Snow Drifts on my sandy beach.

I started by stamping the flamingos and palm trees a few times onto Sugar Cube cardstock using Oreo ink. I colored these with Copic markers and used the coordinating dies to cut them out. Once I was finished, I set these images aside and created backgrounds for both of my cards. Using a few different colors of Distress Oxide inks, I did some light ink blending to create the sky. I did the same for the sand and used Build a Scene - Snow Drifts to die cut some sandy hills.


I added my sentiment to a cloud shaped talk bubble using Let's Talk - Edger 2. Once I assembled all of my pieces on my A2 card front, I adhered the pieces with liquid glue, then I popped up a couple of the flamingos for some interest.


Pink Christmas Supplies:


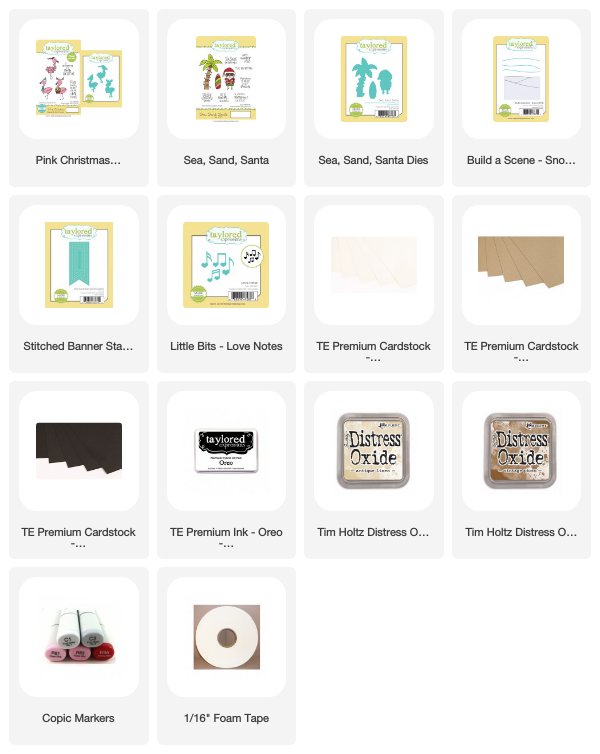
The second card is also A2 sized and a vertical beach scene. For this one, I used the second sentiment from Pink Christmas, stamped and die cut with Stitched Banner Stacklets. The flamingos are popped up with foam tape and the black musical note between them is from Little Bits - Love Notes.


Here's a detail shot:


Fla la la...mingos Supplies:


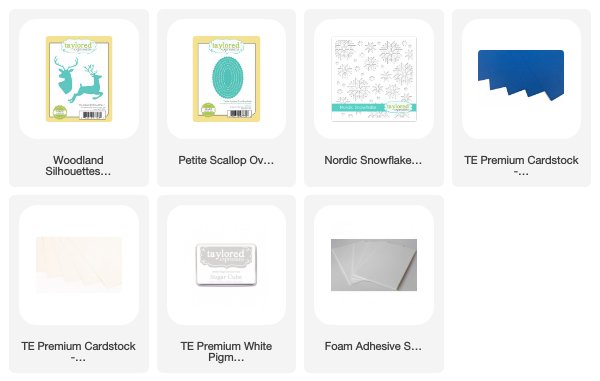
For my final project, I made a set of 4 A2 notecards using Woodland Silhouettes 1 and 2. These dies allow you to create beautiful silhouttes which can be used to create elegant cards very quickly. 

The first two cards feature Woodland Silhouettes 1, which contains a stag bust and reindeer. I started by using the new Nordic Flake Stencil and Sugar Cube pigment ink on the new Blueberry cardstock. Oh, I just love how that turned out! I did set it aside to dry before assembling my cards.

I used Petite Scallop Oval Stacklets to die cut a portion of my card front, then I added it back with foam adhesive to create a seamless front, yet some added dimension. Here's the stag bust:


And the reindeer:


Woodland Silhouettes 1 Card Supplies:


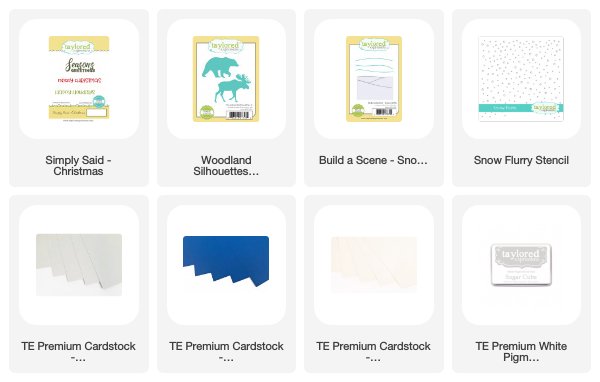
Woodland Silhouettes 2 features a bear and a moose silhouette. For these, I used the new Snow Flurry Stencil to create a snowy background on Blueberry cardstock. I added a snow hill using Build a Scene - Snow Drifts and a moon (die cut out of a 7/8" circle punch). The sentiments are from Simply Said - Christmas. First up is the moose:


And the bear (this one makes me think of California!):


Woodland Silhouettes 2 Supplies:


Here's a collage of the woodland silhouettes card set:


For a limited time, you can earn DOUBLE CRAFTY POINTS on the Big Background Bundle! Just create an account at the TE webstore and you're automatically enrolled to begin earning crafty points with every purchase. You'll receive 120 Crafty Points when you purchase our Holiday Big Background bundle! Offer valid on qualifying purchases made between 9am CDT on Thursday, October 4, 2018 and 11:59 pm CDT on Sunday, October 7, 2018. Crafty Points are only available on purchases made at Taylored Expressions.


Thank you so much for visiting! I hope you have enjoyed my previews of the new products over the past week. It was so fun creating my projects! I didn't get to play with all of the new products, so I'm hoping to create more. I will be sure to share when I do! Have a wonderful rest of the week and weekend (3-day weekend for us...)!!