

Last year, I made a similar calendar (here). When Beate asked me to write the tutorial, I was excited for the chance to re-work the calendar since there were things I wish I had done differently. I used the same red magnetic board (14" x 24"), but I started with new tins and gave my Christmas countdown calendar a facelift.
ETA: I will be filling these tins with treats for Sabrina to count down the days until Christmas. If the tin is too small to fit the treat for a particular day, then I will probably add a little note to tell her where to find her treat!
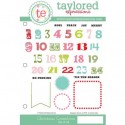
Here are a few of detail shots (upper):

middle:

lower:

Supplies from the TE store:

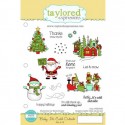
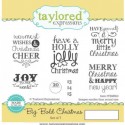
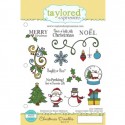


Stamps: Christmas Countdown, A Winter View, Baby, It's Cold Outside, Big Bold Christmas, Christmas Doodles (TE)
Paper: December Documented (Simple Stories), Chalkstock, Choice Snow White (TE)
Ink: Memento Tuxedo Black, Versamark Watermark (Tsukineko); Vintage Photo Distress (Ranger)
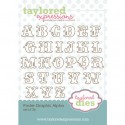
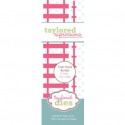
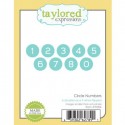
Accessories: Taylored Dies: Arched Window, Banner Stacklets 1, Branches Banner & Bloom, Christmas Treat Toppers, Fly Your Flag 2, Gift Card Frame, Pinwheel Parade, Simple Tabs, Snowflake Cutting Plate, Tag Stacklets 1, Train Track Border, Circle #s, Poster Graphic (TE); Markers (Copic), Tins, Magnet sheets, Assorted embellishments, Foam tape, Thread, Sewing machine.